Knowing how to update robots.txt is crucial for anybody who owns or maintains a website. Robots.txt is a file that is used to communicate with search engine bots and can be used to block certain pages or sections of your website from being indexed. In this quick guide post, we will provide a step-by-step guide on how to update the robots.txt file in WordPress.
Creating a robots.txt file in Yoast SEO
Many site owners will choose to manage their robots.txt through third-party plugins to make it a lot easier. A very popular method is to use Yoast SEO – a great SEO tool that allows a decent amount of technical SEO customisation. In this guide, we’ll be covering how you can create a robots.txt file and manage it using Yoast as it is free to do so and incredibly easy to set up.
Once you have Yoast SEO installed, follow the below steps:
Step 1: Log in to your WordPress dashboard
The first step is to log in to your WordPress dashboard. This can be done by visiting your website’s URL and adding “/wp-admin” to the end of it. For example, if your website’s URL is “www.example.com”, you would visit “www.example.com/wp-admin” to log in.
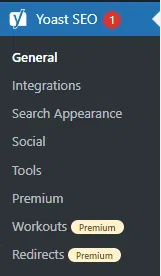
Step 2: Click on ‘Yoast SEO’ in the admin menu.
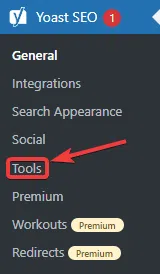
Step 3: Select “Tools”
Step 4: Select ‘File editor
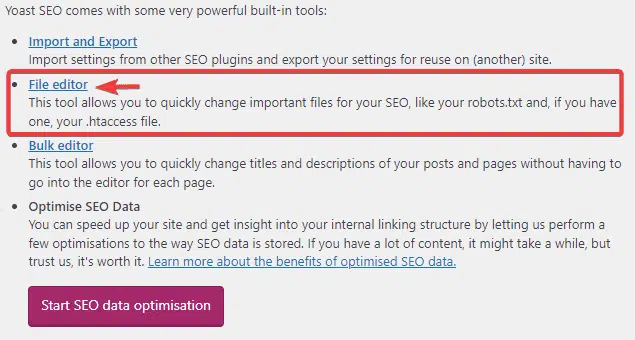
NOTE: Please note that this menu may not appear if your WordPress install has disabled file editing. It’s best to enable file editing if you can, or you can edit the file through FTP if needed.
Step 5: Select the ‘Create robots.txt file’ button
If you already have a robots.txt file created, you’ll instead be directed straight to the interface in Step 6.
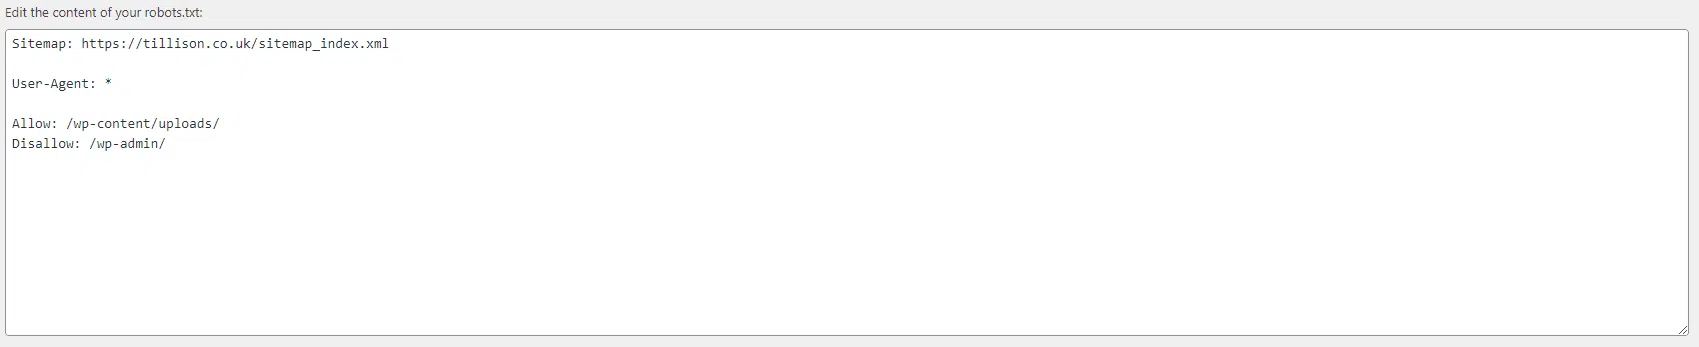
Step 6: View or edit your robots.txt file generated by Yoast
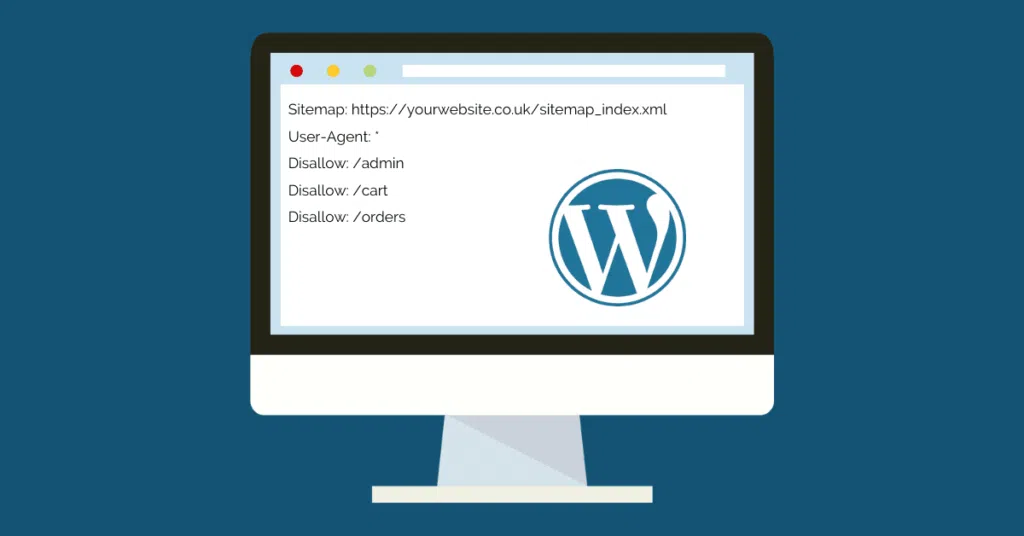
Here, you’ll see your robots.txt file. By default, Yoast includes basic instructions by default such as a disallow line. This is where you’ll be specify which pages, or types of pages, are to be blocked from crawlers.
And that’s it! You now know how to create your robots.txt with Yoast.
How to block crawlers without plugins
If you want to be able to disallow crawlers from reaching certain pages without third-party plugins, or robots.txt customisation, you can do so by follwing the below steps:
- Log in to your WordPress dashboard
- Go to the “Settings” menu
- Click on “Reading”
- Scroll down to the “Search Engine Visibility” section
- Check the box labelled “Discourage search engines from indexing this site”
- Save your changes
By blocking certain pages or sections of your website from being indexed, you can ensure that only the most relevant content is shown in search engine results.